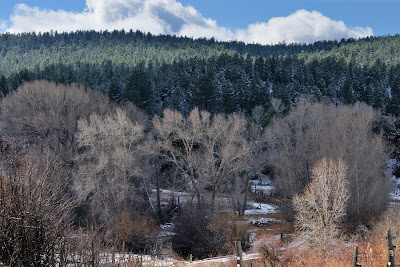
The picture that I will post for this week's SkyWatch Friday used the Exposure Blending technique. I have described this technique previously here. Now I describe a slightly modified version using Photoshop CS3.
1. I normally take three bracketed shots when the sky is bright. The normal sequence for my Nikon camera is +1, 0, -1. Sometimes when the contrast is really to high, then a sequence of +2, +1, 0, -1, -2 will be used. I usually find +1 give me already enough detail for the foreground to work with and -1 already does not over expose the sky.
2. Copy the -1 image onto the +1 image in the Photoshop CS3 by "dragging". Thus, the lighter image is in the background and the darker -1 image is at layer 1.
3. Select both layers then go to Edit>Auto-Align Layers. Check the alignment by change the opacity of the layer 1. This step in CS3 is the most important invention that make the Exposure Blending easy.
4. Crop the image (both layers together) to the desired size. If you do not, the following "masking" step may not align properly.
5. Creat a "mask" for the Layer 1 (the darker image).
6. Click on Layer 1 image to select it then go to Select>All, which select the entire image, then, copy.
7. In Mac, hold down the option key then click on the mask of Layer 1. Paste the Layer 1 image on to the mask. Now I have an B/W image on the mask. If I want I can check the image now and it should be already not too bad. In the previous version, I will apply an Gaussian Blur onto the B/W image of the mask and that is.
8. In the newer version, to the B/W image of the mask, I bring out Image>Adjustment>Curves. I select the white eyedrop and click it on the darkest part of the sky. It now will change all the sky to almost all white. I can use the brush tool to paint out any left over black patch. Then I select the black eyedrop and click it on the brightest part of the foreground. It now will change all the foreground to almost all black. Again, I can use the brush too to paint out any left over white patch.
9. Return to view the image, it should be perfect. I can add a little bit of Gaussian Blur to the "mask" of Layer 1 to soften the transition from sky to foreground, otherwise flatten the layers and that is done.
The "Auto-Align Layers" function allow the perfect alignment of the two original images and I do not have to count on Gaussian Blur to hide the imperfection. The whole process only take a few minutes. Following is another example.

1 comment:
Amazing photo! Sis
Post a Comment